
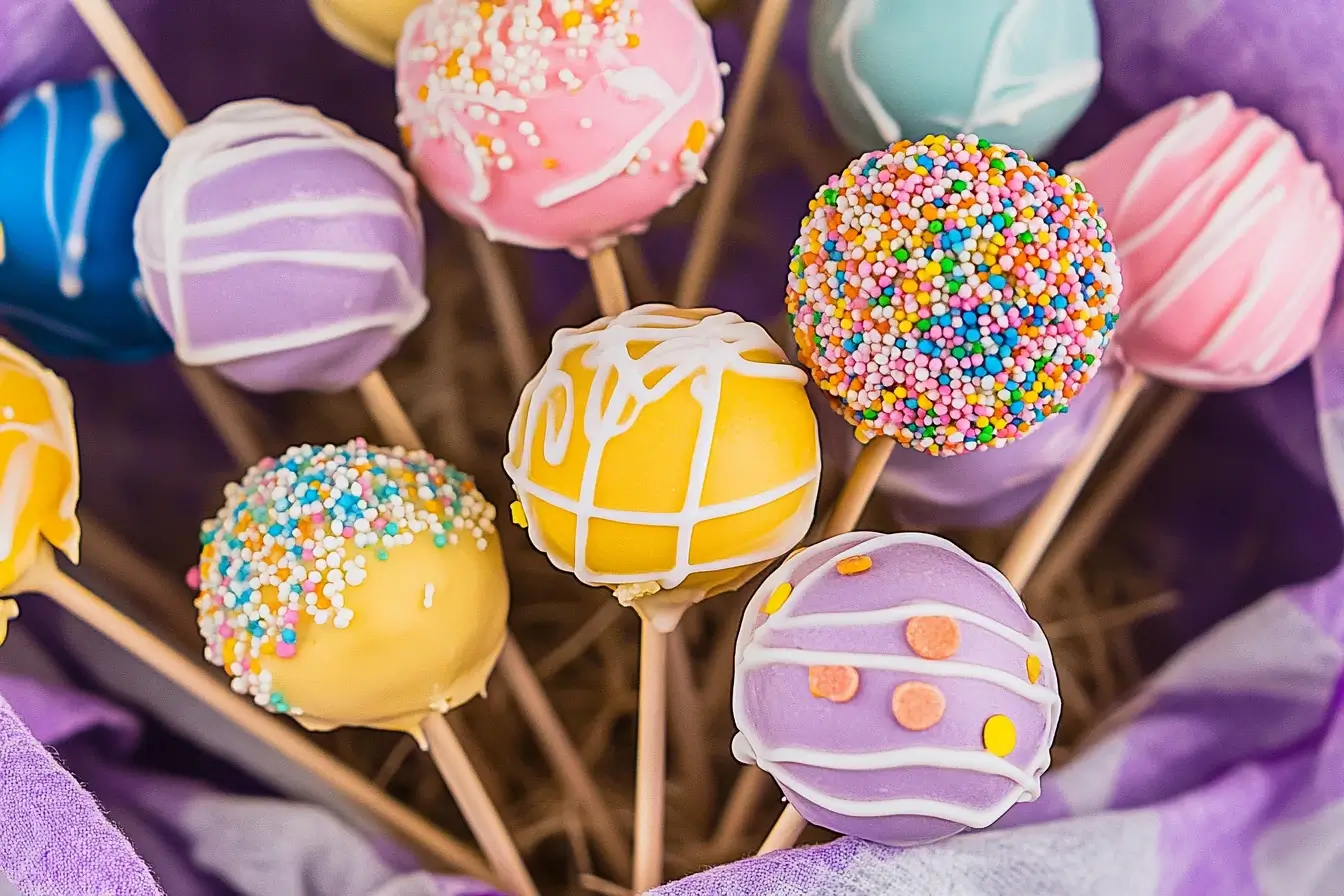
Easter is a time of renewal, joy, and sweet treats, and what better way to celebrate than with Easter cake pops? These bite-sized delights are not only a fun and delicious way to indulge in the holiday spirit but also make for an incredibly eye-catching centerpiece at any Easter gathering. Whether you’re hosting an Easter brunch, attending a family picnic, or simply looking for a creative baking project, Easter cake pops are sure to impress. These festive treats are easy to make, customizable, and filled with the vibrant colors and flavors that make Easter so special.
But there’s more to these adorable treats than just their cuteness. Cake pops have been trending in the baking world for several years, and they’re still a favorite for people of all ages. If you’re wondering why Easter cake pops are the perfect addition to your holiday festivities, let’s explore just how easy and enjoyable they are to make—and why they should be your go-to treat this season.
Why You’ll Love This Easter Cake Pops
If you’re still on the fence about whether Easter cake pops are worth making, here are a few compelling reasons why this recipe will quickly become your new favorite.
- Easy and Fun to Make: Whether you’re a baking pro or a novice, Easter cake pops are simple and fun to create. You don’t need any fancy equipment, just a few basic ingredients and a little creativity.
- Minimal Ingredients, Maximum Flavor: With just a few ingredients, you can create a sweet treat that’s sure to please. This recipe uses everyday pantry staples, and you can even adjust the flavor to match your preferences.
- Perfect for Any Easter Celebration: From family brunches to Easter egg hunts, cake pops are an ideal way to share the joy of the holiday. They’re portable, easy to serve, and perfect for kids and adults alike.
- Customizable for Everyone: Whether you prefer a classic vanilla cake pop or want to experiment with flavors like chocolate, lemon, or even carrot cake, this recipe is versatile enough to suit any taste. Plus, decorating your cake pops with Easter-themed colors and toppings is an enjoyable activity the whole family can participate in.
- Great for Gifting or Sharing: Easter cake pops make excellent gifts or party favors. Wrap them up in colorful cellophane bags for an adorable, homemade treat that your friends and family will love.
Ingredients Needed For Easter Cake Pops
Before we dive into the recipe, let’s gather everything you’ll need. Don’t worry, the ingredients are simple and easy to find, and there are some helpful substitutions if you have specific dietary preferences.
For the Cake Pops:
- 1 box of cake mix (or 1 batch of homemade cake if preferred)
- 1 cup of frosting (store-bought or homemade)
- 8 oz of candy melts (choose pastel colors like pink, blue, yellow, and green for a festive touch)
- Lollipop sticks (or wooden skewers, if lollipop sticks are unavailable)
- Easter-themed sprinkles (or other fun decorations like mini chocolate eggs, colored sugar, or edible glitter)
Substitutes:
- Cake Mix: For a gluten-free version, use a gluten-free cake mix. Alternatively, use a homemade cake recipe if preferred.
- Frosting: Dairy-free or vegan options are available; simply swap for non-dairy butter and milk.
- Candy Melts: For a dairy-free option, be sure to check the labels of candy melts. Some brands offer dairy-free varieties.
- Sprinkles/Decorations: Feel free to swap sprinkles for edible flowers or chocolate chips for a more adult-friendly twist.
Step-by-Step Instructions
Now that you have everything you need, it’s time to get baking! Let’s break down the process into clear, actionable steps so you can easily follow along.
- Bake the Cake: Start by preparing the cake mix according to the package instructions. If you’re making your cake from scratch, be sure it’s fully baked and cooled before moving on. Let it cool completely—this is crucial to ensure the cake crumbles properly.
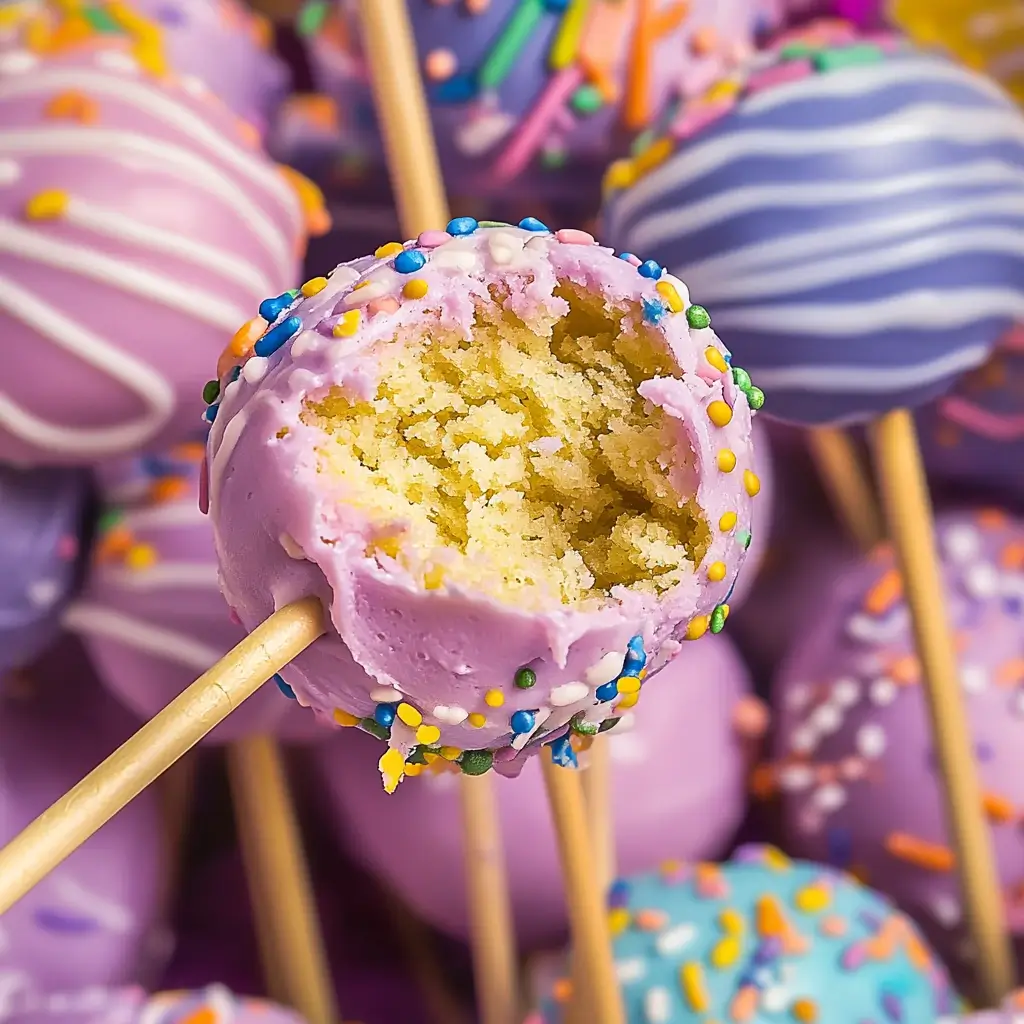
- Crumble the Cake: Once the cake is cool, crumble it into fine crumbs. You can use your hands or a fork to break the cake apart, making sure the pieces are small and even.
- Mix the Cake and Frosting: Add the frosting to the crumbled cake. Start with about 1 cup of frosting, and gradually add more until the mixture is moist but firm. You should be able to roll the cake into balls without them falling apart.
- Shape the Cake Balls: Roll the cake mixture into small balls, about 1 to 1.5 inches in diameter. Set them on a tray lined with parchment paper.
- Add the Sticks: Melt a small amount of candy melts (about ¼ cup) and dip the end of each lollipop stick into the melted candy. Insert the stick about halfway into each cake ball. This helps keep the stick in place when dipping later.
- Chill the Cake Pops: Pop the tray of cake pops into the fridge for at least 30 minutes. This allows the cake pops to firm up, making it easier to coat them in candy melts.
- Coat in Candy Melts: Once chilled, dip each cake pop into the melted candy melts. Swirl it around until it’s fully coated, and let the excess drip off.
- Decorate: Before the candy coating hardens, sprinkle with your favorite decorations—Easter sprinkles, mini chocolate eggs, or edible glitter will give your cake pops that extra Easter flair.
- Let them cool: Allow the cake pops to cool completely. You can place them in the fridge for faster setting or let them cool at room temperature.
Recipe Tips & Variations
Now that you’ve mastered the basic cake pop recipe, here are a few tips to elevate your Easter cake pops and make them uniquely yours.
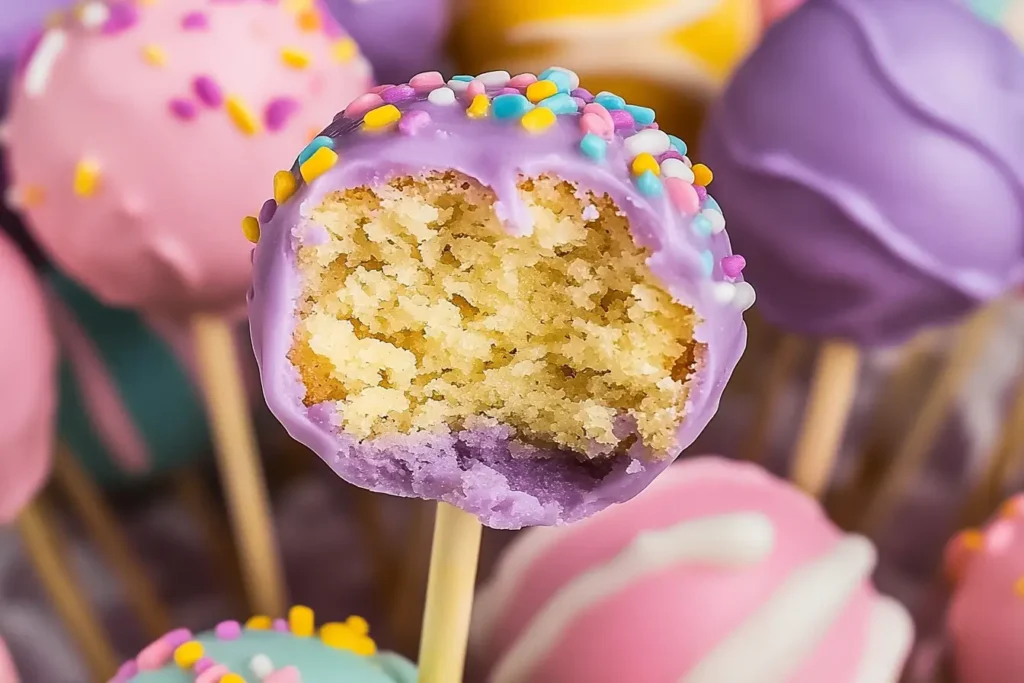
- Get the Texture Just Right: The key to perfect cake pops is achieving the right cake-to-frosting ratio. If the mixture is too wet, the cake pops may fall apart; too dry, and they won’t stick together. Adjust the frosting until you get a firm yet moist dough.
- Use Quality Candy Melts: For a smooth, shiny finish, use high-quality candy melts. Be sure to melt them slowly in a double boiler or microwave, stirring often to avoid burning.
- Flavor Variations: Experiment with different cake flavors—try carrot cake for an Easter twist, or add lemon zest for a refreshing spring flavor. You can also add mini chocolate chips or crushed candy bars for extra crunch.
- Make Them Healthier: For a healthier twist, use a sugar-free cake mix and frosting. You can also reduce the sugar in the cake batter and use dark chocolate candy melts, which have less sugar than milk chocolate.
- Dye Your Own Candy Coating: If you can’t find pastel-colored candy melts, try using white candy melts and adding food coloring to create your own custom colors.
How to Store & Reheat
If you have leftovers (or just want to prepare ahead of time), here’s how to store and reheat your cake pops:
- Storage: Store your Easter cake pops in an airtight container at room temperature for up to 3 days. To extend their freshness, refrigerate them for up to a week. If freezing, wrap each cake pop individually in wax paper and place them in a freezer-safe container. They can be stored in the freezer for up to a month.
- Reheating: Cake pops are best enjoyed at room temperature, so remove them from the fridge and allow them to come to room temperature before serving.

Frequently Asked Questions (FAQ)
Can I make Easter cake pops ahead of time? Yes, you can prepare them 1-2 days in advance. Just make sure to store them in an airtight container to maintain their freshness.
Can I use different candy coatings for cake pops? Yes! While candy melts are most commonly used, you can also try chocolate, white chocolate, or even a glaze.
How can I make my cake pops smoother? To ensure smooth cake pops, be sure your cake balls are well-formed, and use high-quality candy melts. Dipping in multiple layers of melted candy can help smooth out imperfections.
Time to Enjoy Your Creation!
Whether you’re new to baking or a seasoned pro, Easter cake pops are a fun, easy, and festive way to celebrate the season. With simple ingredients, creative decorating options, and endless flavor possibilities, this recipe will be a hit at your next holiday gathering. So go ahead, try this Easter cake pops recipe, and let us know how they turn out! Share your Easter creations with us and follow for more sweet recipes. Happy baking!

Easter Cake Pops Recipe
Ingredients
For the Cake Pops:
- 1 box of cake mix (or homemade cake)
- 1 cup of frosting (store-bought or homemade)
- 8 oz of candy melts (choose pastel colors like pink, yellow, green, and blue)
- Lollipop sticks (or wooden skewers)
- Easter-themed sprinkles, mini chocolate eggs, or edible glitter (optional for decorating)
Instructions
- Prepare the Cake: Bake the cake according to the instructions on the box or your homemade recipe. Once baked, let the cake cool completely.
- Crumble the Cake: After the cake cools, crumble it into small crumbs. You can use your hands or a fork to break the cake apart.
- Add the Frosting: Slowly mix in about 1 cup of frosting with the cake crumbs. Keep adding more frosting until the mixture is moist and can hold its shape when rolled into a ball. Aim for a dough-like consistency.
- Shape the Cake Balls: Roll the cake mixture into balls about 1 to 1.5 inches in diameter. Place them on a tray lined with parchment paper.
- Prepare the Sticks: Melt a small amount of candy melts (about ¼ cup) and dip the end of each lollipop stick into the melted candy. Then insert the stick into the center of each cake ball to help secure it in place.
- Chill the Cake Pops: Place the tray of cake pops into the fridge for at least 30 minutes to set. This ensures that the cake balls hold their shape when coated.
- Coat the Cake Pops: Melt the remaining candy melts and dip each cake pop into the melted candy. Swirl the pop gently to coat it evenly. Let the excess drip off.
- Decorate: Before the candy coating hardens, decorate your cake pops with sprinkles, mini chocolate eggs, or any Easter-themed decorations of your choice.
- Set the Cake Pops: Allow the cake pops to fully set by placing them in the fridge or letting them cool at room temperature. They should be firm to the touch.
Notes
- Customization: Try different cake flavors (e.g., chocolate, carrot cake) or even add mini chocolate chips or nuts to the cake mixture.
- Colorful Coating: You can create your own custom candy coating colors by using white candy melts and adding food coloring to them.
- Texture: Be careful with the amount of frosting you add. The cake mixture should be moist enough to form a ball but not so wet that it falls apart.