
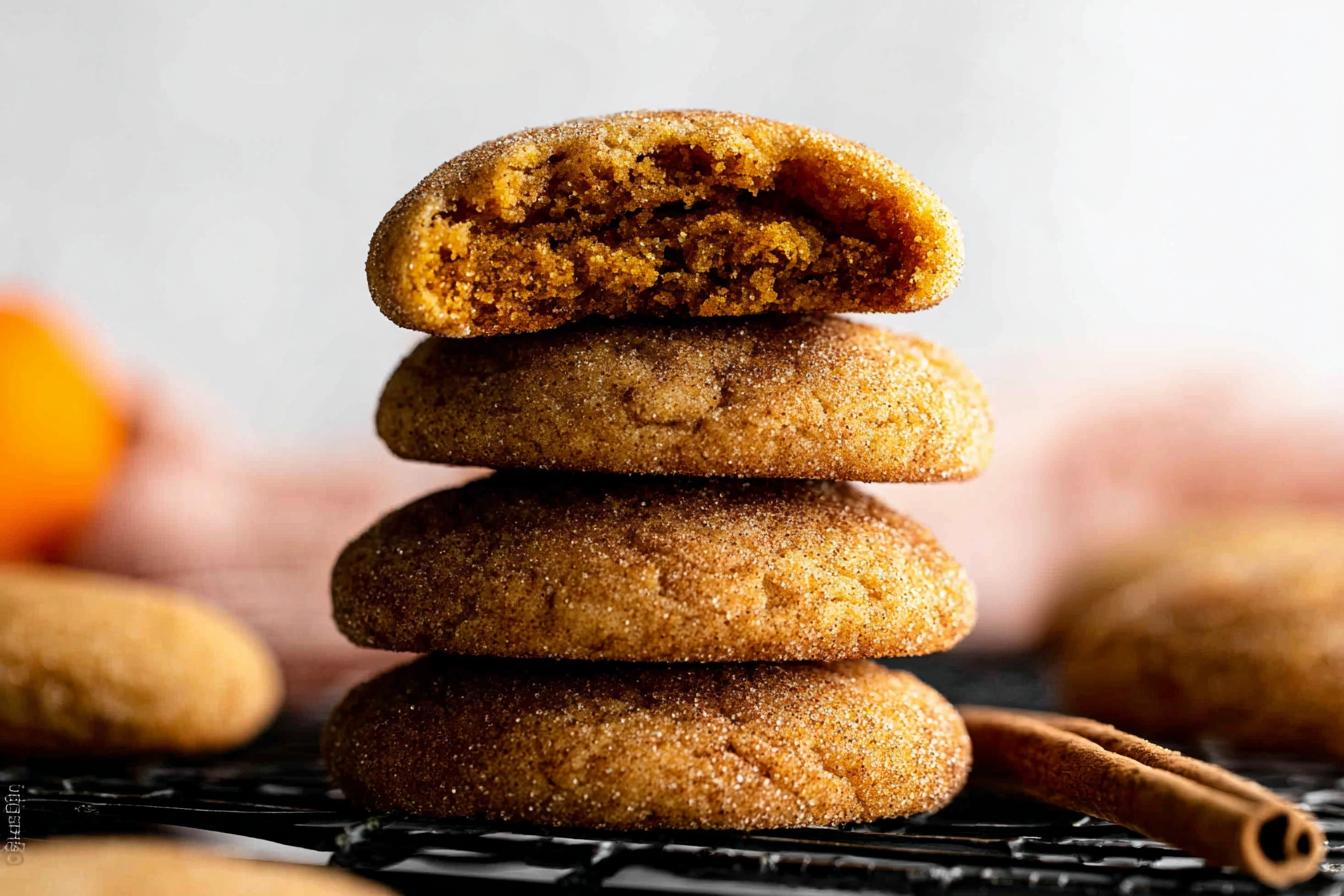
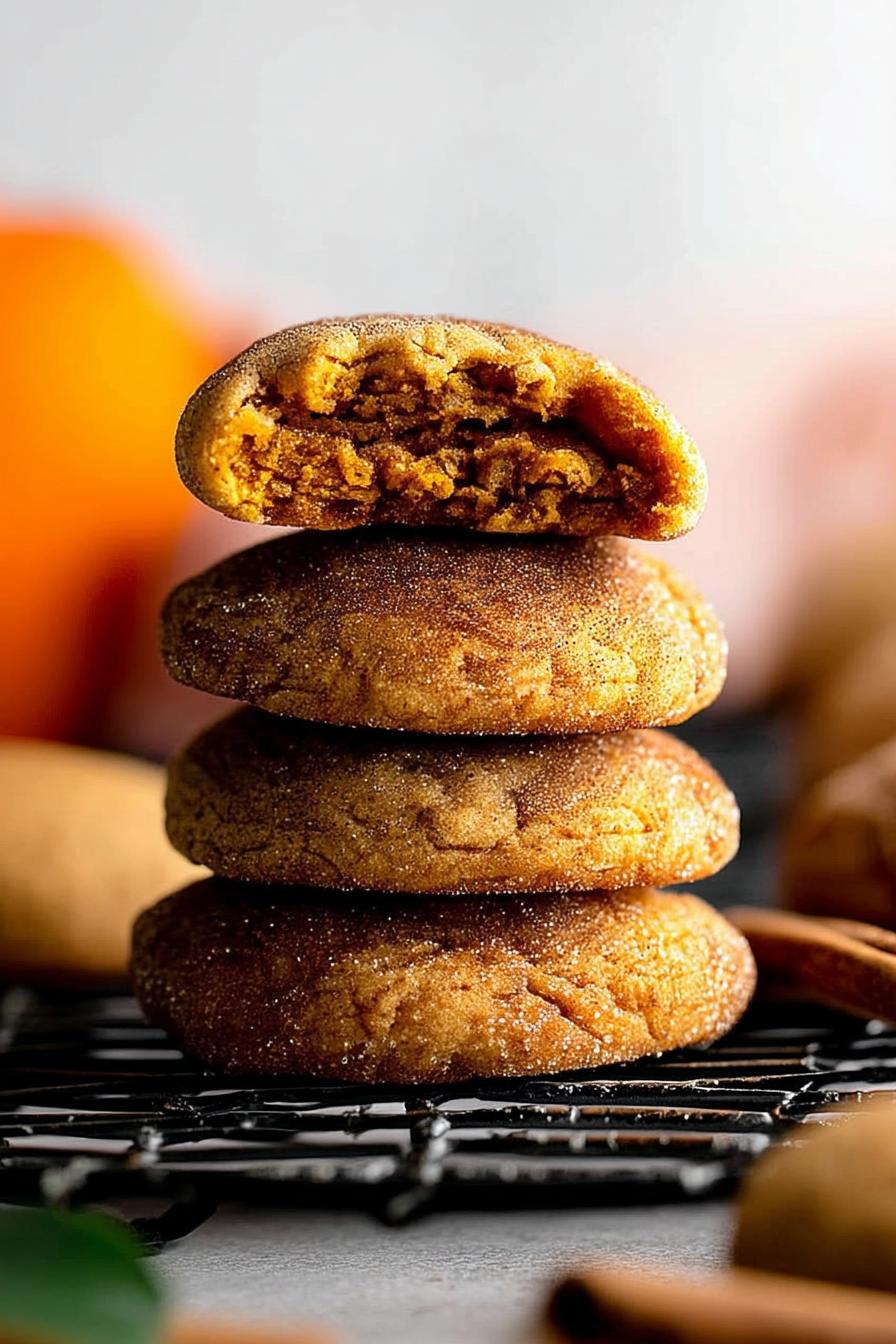
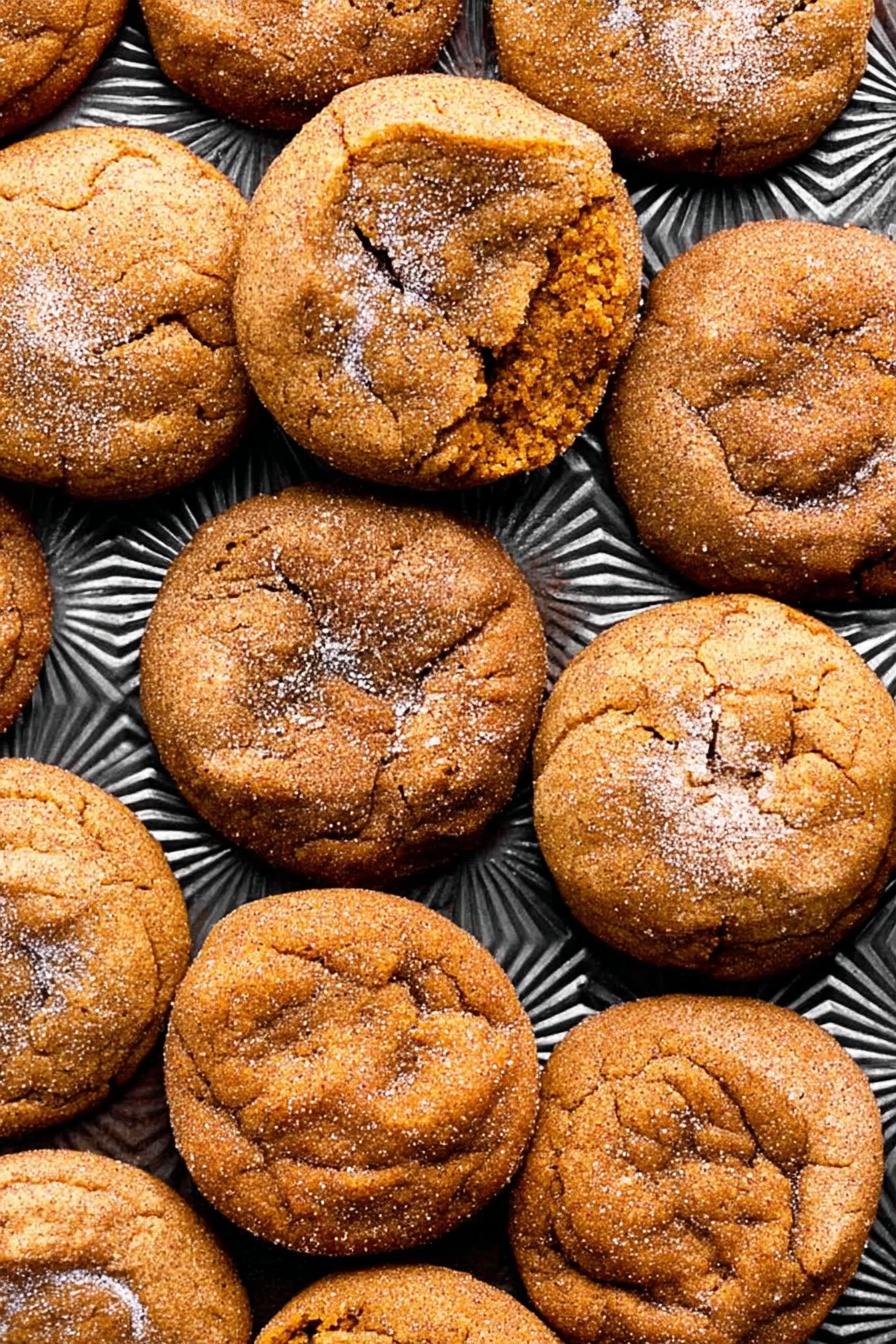
There’s something utterly comforting about warm Pumpkin Snickerdoodles fresh from the oven—a hint of nutty toasted spice, edges turning golden, and centers that yield with a tender pull. After testing this dough across three different ovens and tweaking bake times down to the minute, I discovered the sweet spot where cookies puff up just right and crackle as they cool. Let’s dive into these fall-flavored treasures that always fill my kitchen with fragrant steam.
Why You’ll Love Pumpkin Snickerdoodles
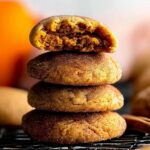
- A soft, slightly chew interior thanks to pumpkin puree in every bite
- A crisp, sugar-spice crust that shimmers under a glossy surface
- Quick to whip up with pantry staples and just one mixing bowl
- A nod to classic snickerdoodle lore enriched by autumn’s signature spice
A Little Background
One crisp October afternoon, I whisked together flour and spices only to realize I’d doubled the pumpkin pie spice—an accidental twist that yielded a subtle warmth I ended up loving. Since then, I’ve kept rigid notes: always soften butter fully, never overmix the dough, and rest the rolled balls briefly in the fridge if my kitchen climbs above 72°F.
Key Ingredients for Pumpkin Snickerdoodles
- All-Purpose Flour (3 cups/360g): Provides structure—spoon and level for accuracy.
- Pumpkin Pie Spice (2 tsp): Delivers cinnamon, ginger, and nutmeg warmth; homemade blend tastes brighter.
- Pumpkin Puree (3 tbsp): Adds moisture and that autumnal note—avoid pumpkin pie filling.
- Unsalted Butter (¾ cup/170g): Softened to room temp for silky creaming; Kerry Gold yields rich flavor.
- White Chocolate Chips (½ cup/90g): Optional sweet pockets; chopped chunks make pockets of molten sweetness.
How to Make Pumpkin Snickerdoodles
- Preheat your oven to 350°F (177°C). Line two baking sheets with parchment paper or silicone mats—this stops the bottoms from browning too fast.
- In a large bowl, whisk together 3 cups (360g) flour, 1 tsp baking powder, 2 tsp cream of tartar, ½ tsp baking soda, 1 tsp salt, and 2 tsp pumpkin pie spice until well blended.
- In another bowl, beat ¾ cup (170g) softened butter with 1 cup (200g) granulated sugar and ½ cup (100g) packed light brown sugar on medium speed for 2–3 minutes, until light and fluffy. Add 3 tbsp pumpkin puree, then beat in 1 large egg, 1 egg yolk, and 1 tsp vanilla until silky smooth, pausing to scrape the bowl.
- Mix in the dry ingredients on low speed until just combined; don’t overwork. Gently fold in ½ cup (90g) white chocolate chips, if using, for bursts of creamy sweetness.
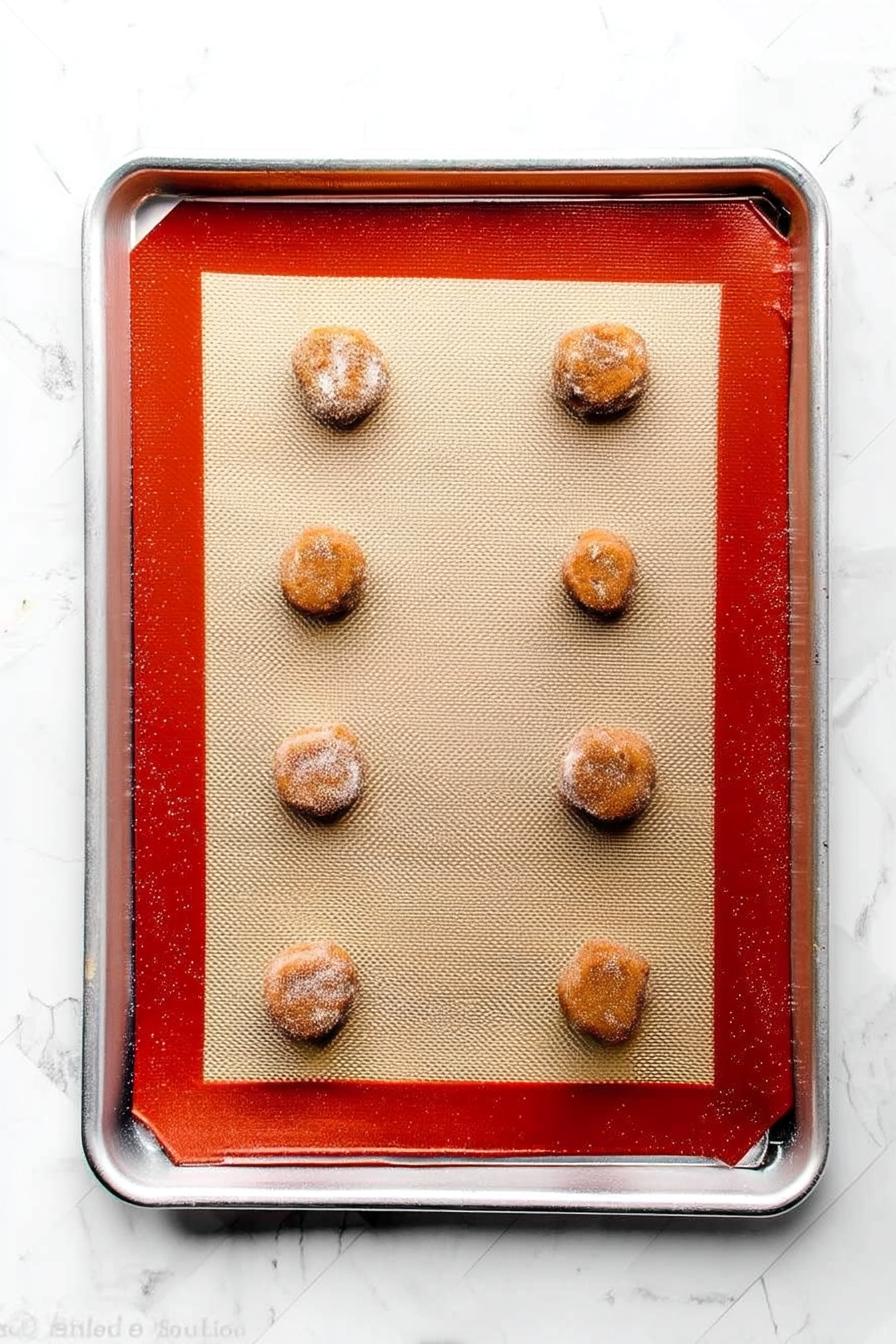
- Stir 3 tbsp granulated sugar with 1 tbsp pumpkin pie spice in a small bowl. Scoop 1½-tablespoon (30g) dough mounds and roll into balls, then coat evenly in the sugar-spice mix.
- Arrange balls 2 inches apart on prepared sheets. For extra lift, chill on the tray for 10 minutes—especially if your butter ran warm.
- Bake 8–9 minutes, until edges show a hint of brown and centers appear slightly underdone. You’ll hear a soft bubbling as sugar cooks.
- Let the cookies rest on the baking sheet for 5 minutes (testing note: I found that this step prevents them from collapsing), then transfer to a wire rack to cool completely.
Pro Tips & Troubleshooting
- Scrape the bowl: I learned the hard way that bits of cream of tartar hide in crevices—top off the paddle with a spatula midway.
- Flat cookies? Chill dollops for 10–15 minutes. Cooler dough holds shape and blooms tall, not wide.
- Spice it up: Add a pinch of cloves or swap white chocolate for dark chips for a cozy contrast.
- Halving or doubling: Keep the ratio of pumpkin puree steady—scale remaining ingredients accordingly and adjust bake time by 1–2 minutes for larger batches.
Storage & Make-Ahead Guide
Store cooled cookies in an airtight container at room temperature for up to 4 days—I tested a batch left out for three days and they stayed chewy. Freeze in a sealed bag for up to 3 months; thaw at room temperature or warm gently at 300°F for 3 minutes. For safety, always cool completely before sealing to prevent moisture buildup.
Serving Suggestions
Pair these snickerdoodles with a frothy latte or dollop of whipped cream. Crumble over vanilla ice cream for a seasonal sundae or sandwich a scoop of maple walnut gelato between two cookies for an indulgent treat.
Frequently Asked Questions
- What makes a snickerdoodle different from other cookies? Snickerdoodles use cream of tartar and baking soda for their signature tang and crinkle, plus a cinnamon-sugar coating for the classic sparkle.
- Can I use fresh pumpkin puree in Pumpkin Snickerdoodles? Fresh puree works if it’s thick—drain excess liquid first so the dough stays firm.
- How do you keep Pumpkin Snickerdoodles soft? Store with a slice of bread in the container to maintain moisture, and avoid overbaking by pulling them at the first sign of golden edges.
- Can I freeze Pumpkin Snickerdoodles dough? Yes—shape and freeze balls on a baking sheet, then transfer to a bag. Bake directly from frozen, adding 1–2 minutes to the bake time.
- What can I substitute for cream of tartar in snickerdoodles? Mix 2 tsp lemon juice or vinegar with ½ tsp baking soda for each 1 tsp cream of tartar.
- How do you know when Pumpkin Snickerdoodles are done baking? Look for edges turning golden brown while centers remain slightly glossy—residual heat finishes them perfectly as they cool.
Final Thoughts
Watching these Pumpkin Snickerdoodles emerge with a crackled top always brings a smile. My favorite way? Warm, topped with a dusting of extra spice and a steaming mug of spiced chai. If you try them, drop a photo below—I’d love to see how your batches turn out!
More Recipes You’ll Love
- Pumpkin Bread – soft, spiced loaf that pairs beautifully with snickerdoodle flavors
- Apple Butter Snickerdoodles – a fruity spin using the same cinnamon-sugar coating method
- Pumpkin Brownies – fudgy chocolate meets seasonal pumpkin in every bite
- Pumpkin Scones – flaky, buttery treats that echo the warm spice notes
Pumpkin Snickerdoodles
Ingredients
Dry Ingredients
- 3 cups all-purpose flour 360 g, spoon & level
- 1 teaspoon baking powder
- 2 teaspoons cream of tartar
- 0.5 teaspoon baking soda
- 1 teaspoon salt
- 2 teaspoons pumpkin pie spice
Wet Ingredients
- 0.75 cup unsalted butter 170 g, softened
- 1 cup granulated sugar 200 g
- 0.5 cup light brown sugar 100 g, packed
- 3 tablespoons pumpkin puree avoid pie filling
- 1 egg large, room temperature
- 1 egg yolk large, room temperature
- 1 teaspoon vanilla extract
- 0.5 cup white chocolate chips 90 g, optional
Coating
- 3 tablespoons granulated sugar 40 g
- 1 tablespoon pumpkin pie spice
Instructions
Dry Ingredients
- Whisk together flour, baking powder, cream of tartar, baking soda, salt, and pumpkin pie spice in a large bowl until evenly combined.
Wet Ingredients
- Cream butter with granulated sugar and brown sugar on medium speed for 2–3 minutes until light and fluffy. Beat in pumpkin puree, then add egg, egg yolk, and vanilla extract until smooth. Fold in white chocolate chips if desired.
Coating
- Stir together granulated sugar and pumpkin pie spice in a small bowl.
- Scoop 1½-tablespoon portions of dough and roll into balls, then coat in the sugar-spice mix.
- Place dough balls 2 inches apart on parchment-lined baking sheets. Chill on the tray for 10 minutes if dough feels warm.
- Bake at 350°F (177°C) for 8–9 minutes, until edges are lightly golden and centers remain slightly soft. Let rest on the baking sheet for 5 minutes, then transfer to a wire rack to cool completely.