
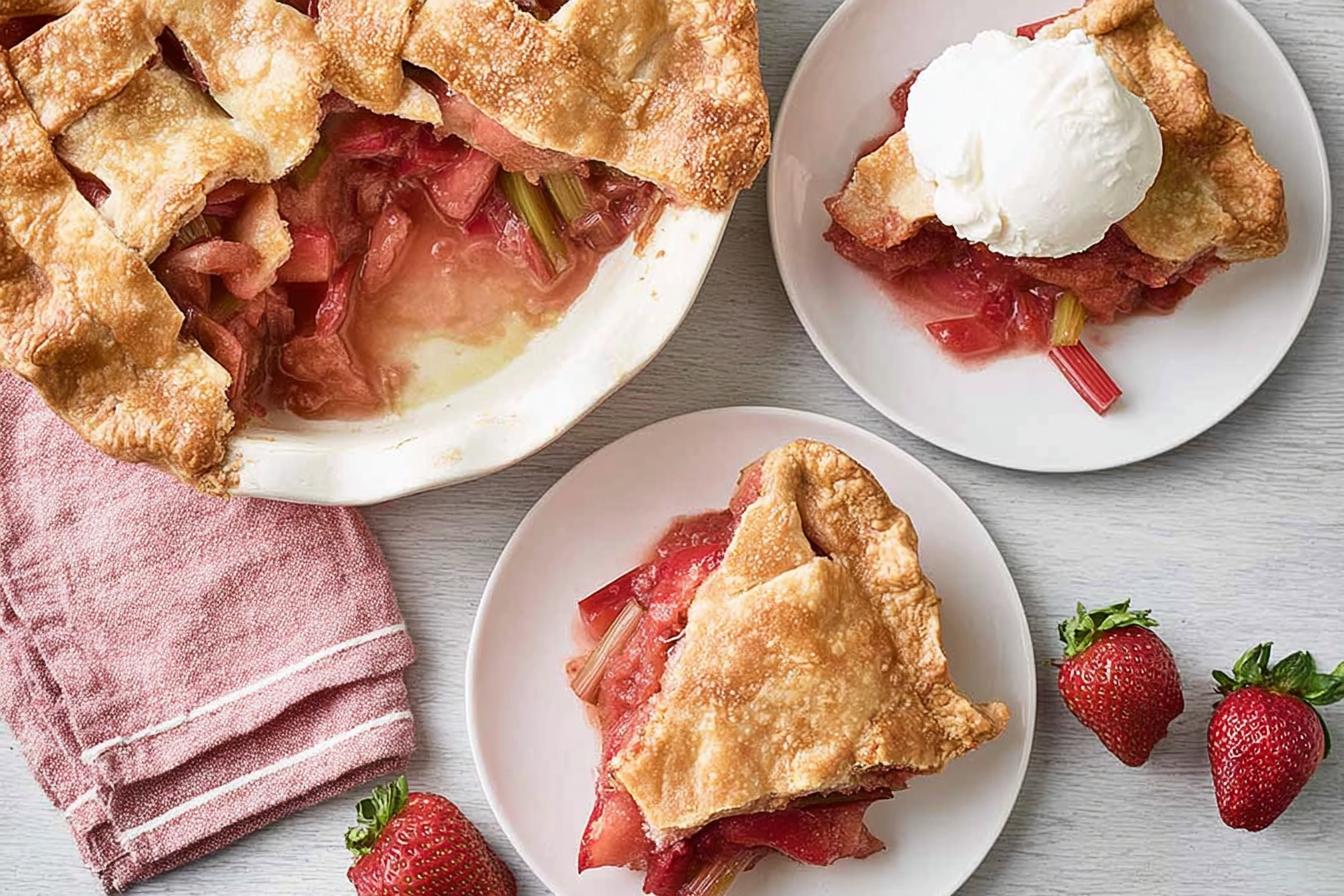
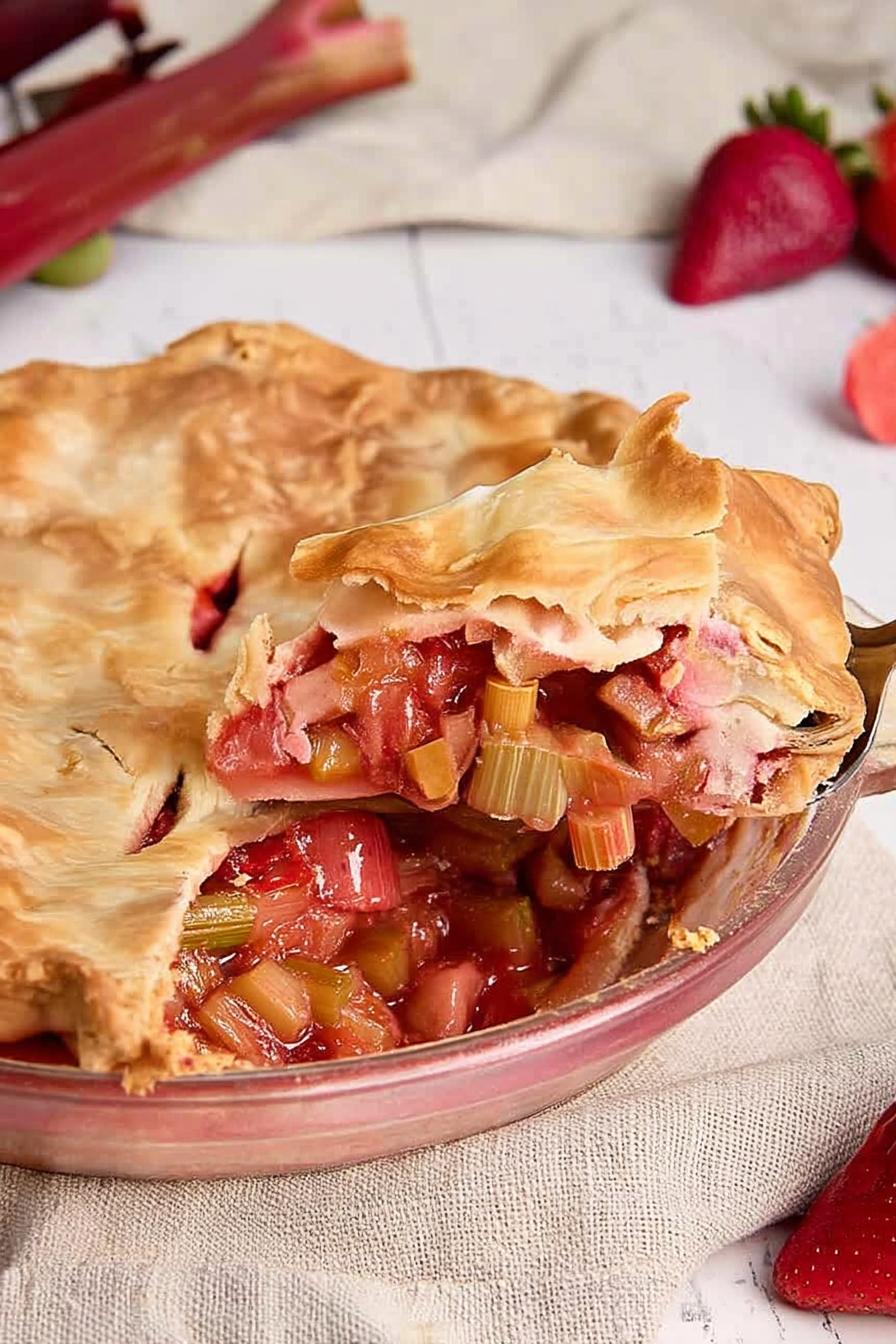
There’s a special joy in creating a homemade Strawberry Rhubarb Pie, where the tartness of fresh rhubarb meets the sweetness of strawberries. After multiple attempts in my kitchen, I’ve found just the right balance, capturing the essence of summer in each slice. With a flaky crust that crumbles just right and a filling that oozes flavor, this pie will undoubtedly brighten your day. If you’re looking for a delicious dessert to accompany this pie, check out my Strawberry Shortcake Recipe.
About Strawberry Rhubarb Pie
This Strawberry Rhubarb Pie combines two tangy yet sweet fruits that shine in the dessert realm. I’ve tested this recipe several times, tweaking the sugar ratios and baking times, so it’s as approachable as it is delicious. My family loves enjoying this pie at summertime gatherings, and I’ve found it to be a fantastic budget-friendly option using frozen strawberries and fresh rhubarb. The flavors truly come alive when shared, creating moments of bliss around the table.
- Quick prep time means less fuss and more fun!
- It’s budget-friendly, especially with seasonal ingredients.
- A family favorite, providing a cozy dessert experience.
- Rhubarb is a classic ingredient in American desserts, deeply rooted in tradition.
Key Ingredients & Their Roles
- Fresh Rhubarb: Provides tanginess; ensure you trim the leaves as they’re toxic.
- Frozen Strawberries: Adds sweetness; can swap for fresh in season.
- Granulated Sugar: Balances tartness; adjust to taste based on fruit’s ripeness.
- Corn Starch: Thickens the filling; substitute with arrowroot if needed.
How to Make Strawberry Rhubarb Pie
- Preheat your oven to 400°F. Gather and prepare all your ingredients for smooth sailing.
- In a large bowl, mix the rhubarb, frozen strawberries, sugar, cinnamon, corn starch, lemon juice, zest, vanilla, and salt until well combined. Let this sit for about 10 minutes to allow the flavors to meld.
- Roll out one pie crust so it hangs over the edge of your 9-inch pie pan. Ensure it’s pressed and settled in nicely.
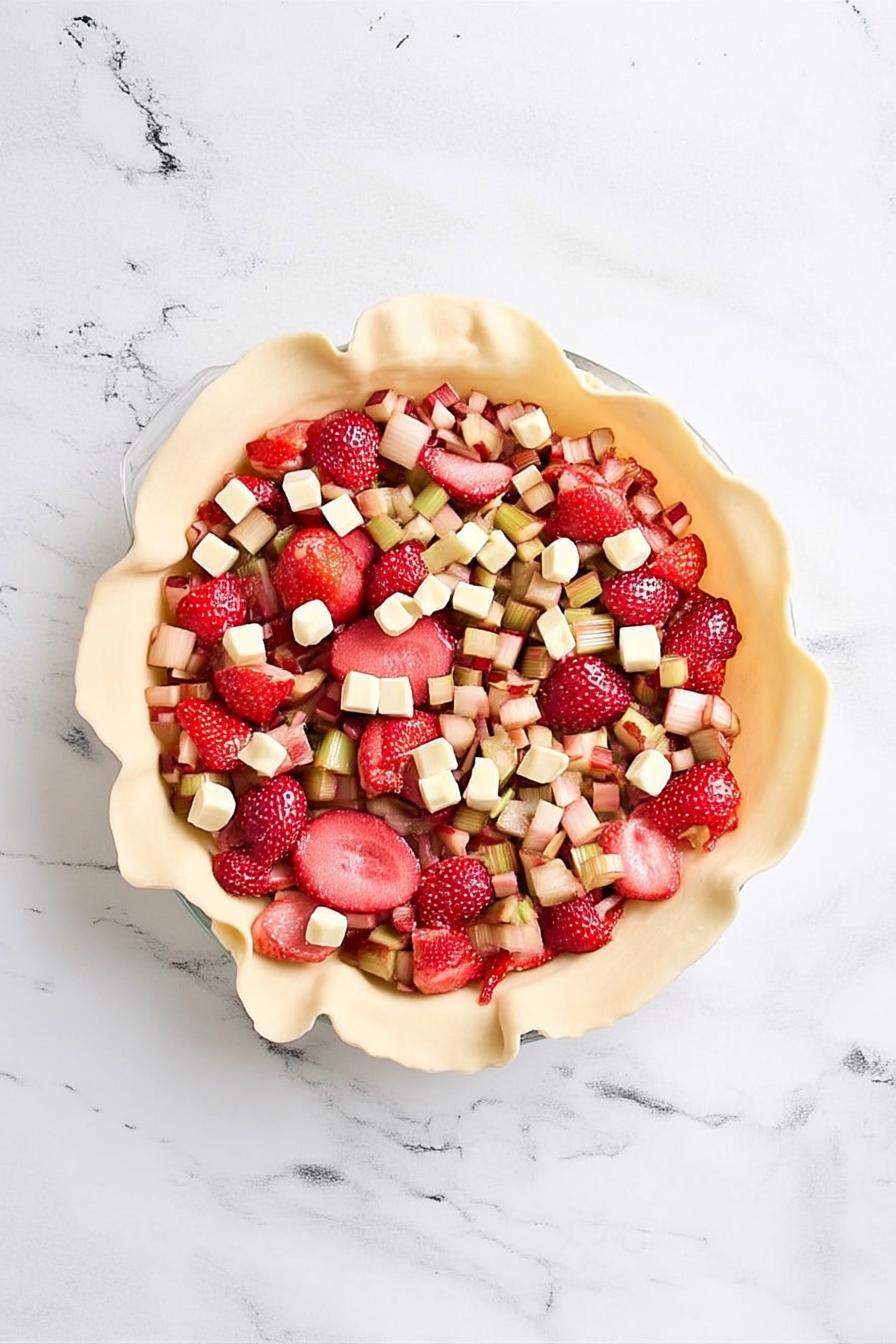
- Pour your fruity filling into the crust and scatter small cubes of butter on top before covering with the second dough layer. Pinch and crimp the edges to seal in your deliciousness.
Pro Tips & Troubleshooting
- When rolling out your crust, use plenty of flour to prevent sticking, and try chilling it beforehand for added ease.
- A common mistake is overfilling the pie; aim for a full but not overflowing pie to prevent spillover during baking.
- If rhubarb is out of season, opt for fresh blackberries or peaches for a delightful twist.
Storage & Make-Ahead Guide
This pie can be stored in the fridge for up to 5 days or frozen for 2-3 months. For reheating, place individual slices in the oven at 350°F for about 15 minutes. During storage tests, I found that the filling becomes more flavorful over time, making it an ideal make-ahead dessert.
What to Serve With Strawberry Rhubarb Pie
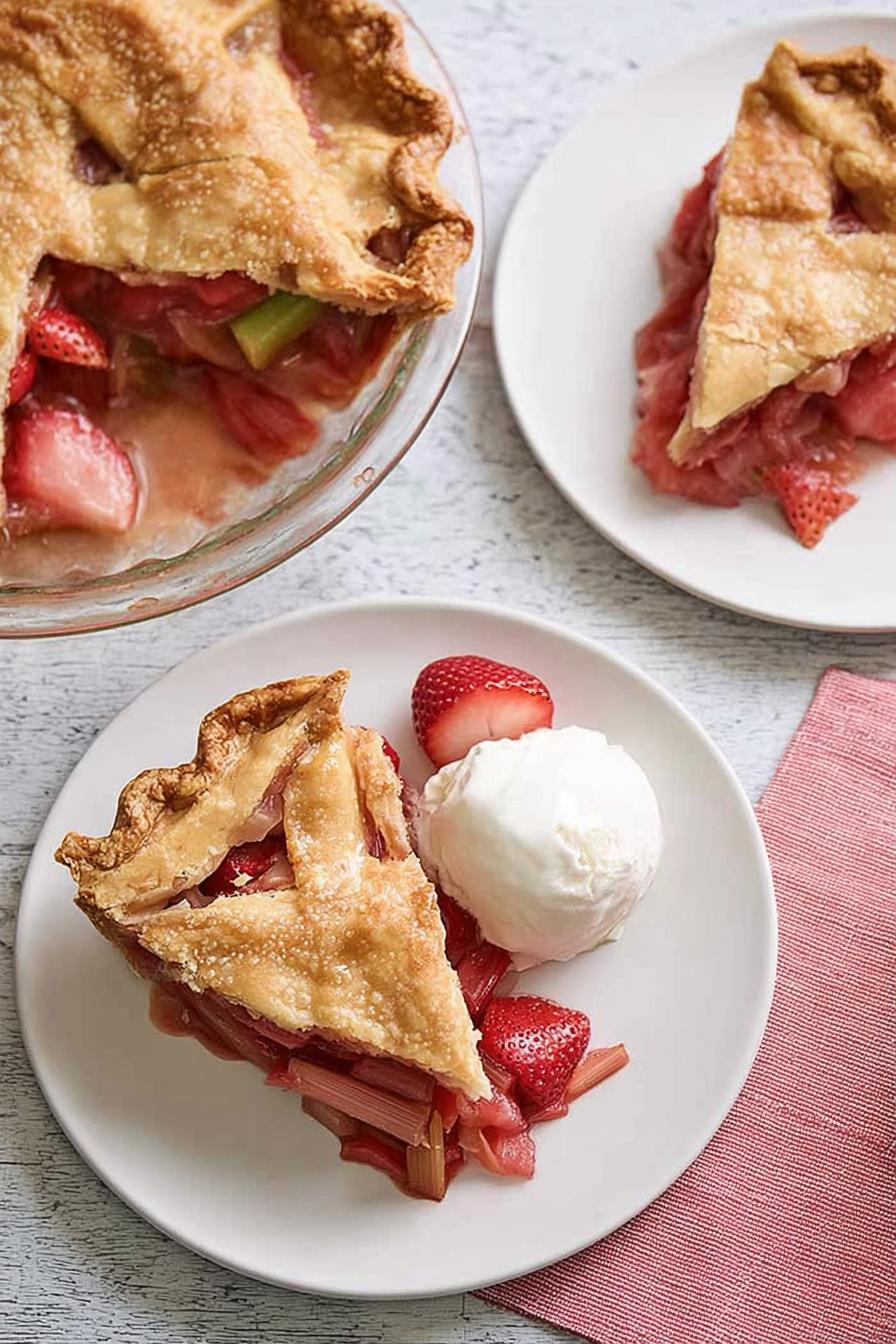
Serve with a scoop of vanilla ice cream or a dollop of whipped cream for added indulgence. For a complementary flavor, try pairing it with my Strawberry Cream Cake!
Frequently Asked Questions
- Can I use fresh strawberries instead of frozen? Yes! Fresh strawberries can be used when in season for an even brighter flavor.
- What is the best way to store leftover pie? Cover tightly with plastic wrap in the fridge or freeze for longer storage.
- How do I know when the pie is done baking? Look for a golden crust and bubbling filling—this is your cue!
- Can I make the crust from scratch? Absolutely! A homemade crust is a wonderful option if you prefer.
- What type of rhubarb should I use? Fresh spring rhubarb is best; aim for firm and bright stalks.
Final Thoughts
This Strawberry Rhubarb Pie has become a staple in my family gatherings, embodying the spirit of summer with every bite. Whether you choose to enjoy it warm or at room temperature, it’s a delight that resonates with nostalgia and warmth. I can’t wait for you to try this recipe and share your own stories!
More Recipes You’ll Love
- Dubai Strawberry Cup – shares a strawberry theme
- Strawberry Cheesecake Cookies – connection via fruity flavors
- Fresh Peach Fritters – pairs well with seasonal fruits

Strawberry Rhubarb Pie
Ingredients
- 1 lb fresh rhubarb leaves removed, trimmed, washed, cut into ½-inch pieces
- 1 lb frozen strawberries
- 1 cup granulated sugar
- 1/2 tsp ground cinnamon
- 1/4 cup corn starch
- 1/2 lemon juice and zest
- 1 tsp vanilla extract
- 1/4 tsp salt
- 2 pie crusts 9-inch pre-made crusts, room temperature
- 2 Tbsp butter small dice
- 1 Tbsp milk
Instructions
- Gather and prepare all ingredients
- In a large bowl, combine the rhubarb, strawberries, sugar, cinnamon, cornstarch, lemon juice, zest, vanilla, and salt. Gently fold together and set aside.
- Roll out one pie crust larger than the 9-inch pie pan and place it on the bottom of the pie pan, pressing the bottom and sides.
- Pour the filling onto the pie crust and evenly top with butter pieces.
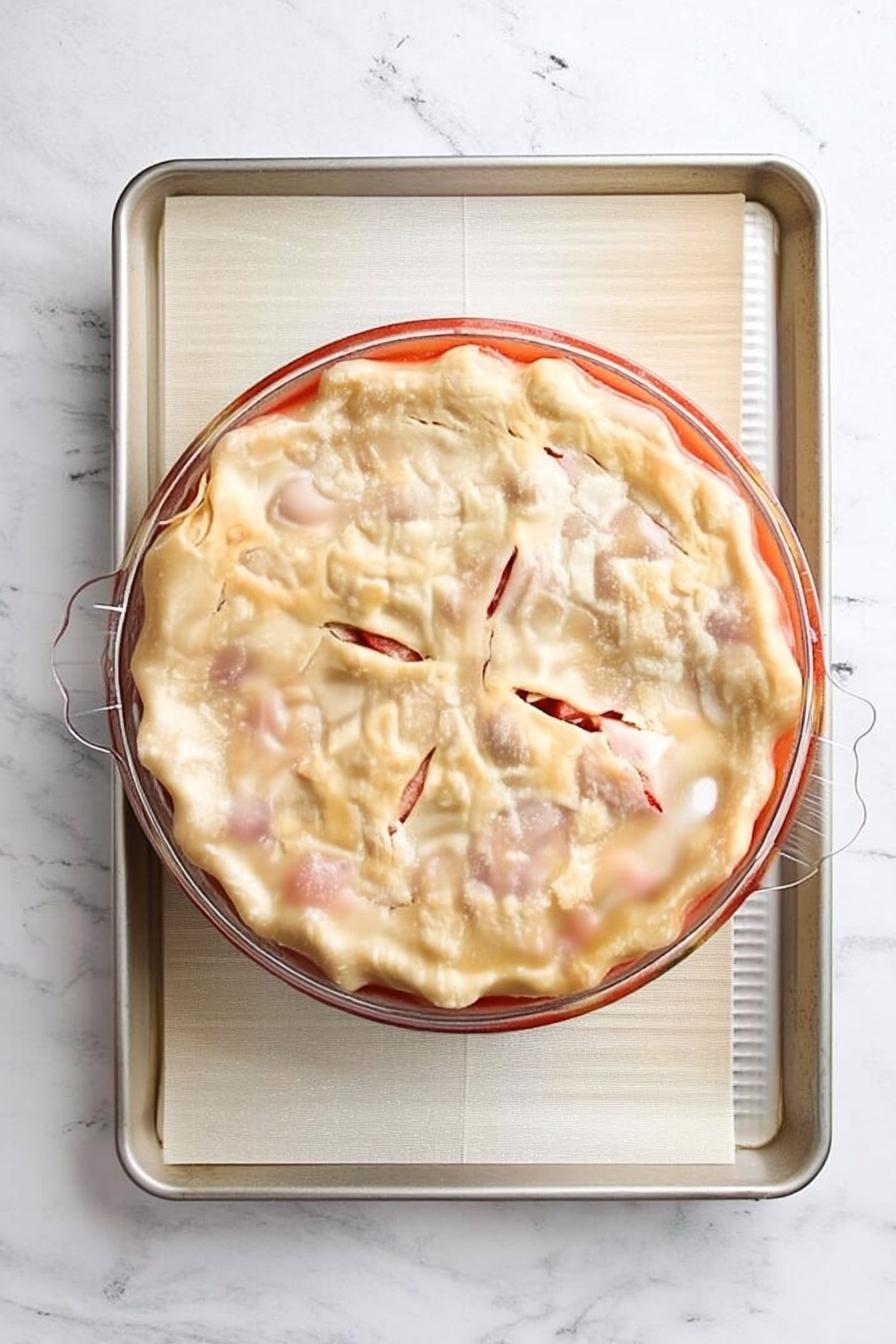
- Roll out the second pie crust and place on top, pinching the edges with the bottom crust to seal. Crimp the pie crust into decorative edges. Cut slits in the top pie crust to vent during the baking process. Brush with milk.
- With 3-inch strips of tin foil, line the edges of the pie to prevent burning.
- Place the pie on an oven-safe tray and place it in the oven. Bake for 30-45 minutes. Remove the tin foil and cook an additional 25-30 minutes until the crust is golden. Remove the pie from the oven and let it cool before cutting.